How to Connect Gemini CLI to WordPress Using MCP
If you want to Connect Gemini CLI to WordPress, you’ve come to the right place. In the rapidly evolving landscape of artificial intelligence, the ability to bridge your local development environment with your content management system is a game-changer. By using the Model Context Protocol (MCP), developers and content creators can now treat their WordPress site as a primary workspace, enabling a level of automation and efficiency that was previously only possible through complex custom integrations.
Imagine being able to manage your WordPress site directly from your terminal, using the same AI assistant that helps you write code. This isn’t just about saving a few clicks; it’s about creating a unified workflow where your research, coding, and publishing happen in one continuous stream. In this guide, we’ll show you exactly how to bridge that gap using the Model Context Protocol (MCP) and Gemini CLI. Let’s dive in!
The Power of MCP for WordPress
Before we get into the technical steps to Connect Gemini CLI to WordPress, it’s important to understand why this matters. The Model Context Protocol (MCP) is an open standard that allows AI models to safely and securely interact with external tools and data sources. When applied to WordPress, it turns your website from a siloed platform into an extension of your AI’s capabilities. This fits perfectly into a broader strategy of building Safe AI Workflows that prioritize precision and control.
Prerequisites
To get started, you’ll need a few things in place. Having a solid foundation is key to any successful automation project. If you’re new to this, you might also want to check out our Beginner’s Guide to AI Blog Writing for more context on how AI is transforming content creation.
- Gemini CLI: Installed and configured on your machine. Ensure you have the latest version to support all MCP features.
- WordPress Site: You’ll need administrative access to your site.
- Application Passwords: For secure remote access, WordPress Application Passwords are the recommended authentication method.
- Node.js: Required to run the MCP server via
npx.
Step 1: How to Connect Gemini CLI to WordPress with Configuration
The first step to Connect Gemini CLI to WordPress is configuring your local environment. Gemini CLI looks for a config.json file to know which MCP servers it should activate upon startup. We will use the official package provided by the community to bridge these two powerful tools.
Open your Gemini CLI configuration (usually located in your home directory or specified in your environment variables) and add the following entry to the mcpServers object:
{
  "mcpServers": {
    "wordpress": {
      "command": "npx",
      "args": ["-y", "@automattic/mcp-wordpress-remote@latest"],
      "env": {
        "WP_API_URL": "https://your-site.com/wp-json",
        "WP_API_USERNAME": "your_username",
        "WP_API_PASSWORD": "your_application_password"
      }
    }
  }
}
This configuration tells Gemini CLI to download and execute the WordPress MCP server on demand. By passing your WordPress REST API credentials through environment variables, you keep your site secure while allowing the AI to perform complex actions on your behalf.
Step 2: Verifying the Connection
Once you have saved your configuration, the next step in the process to Connect Gemini CLI to WordPress is verification. You don’t want to start issuing complex commands without knowing the pipe is open and working correctly.
Simply restart your Gemini CLI session and run the following command:
/mcpThis command will output a list of all active MCP servers. You should see “wordpress” listed with a status indicating it is ready to receive commands. This is your green light to start automating.
Step 3: Advanced Content Automation
Now that you have successfully managed to Connect Gemini CLI to WordPress, the possibilities are endless. You can ask the AI to perform tasks like:
- “Draft a new post about the latest trends in web development.”
- “Update the meta description for post ID 123 to improve SEO.”
- “Find all draft posts and summarize their content for me.”
The real magic happens when you combine this with other tools. For instance, you can use Gemini to research a topic on the web, summarize the findings, and then directly draft the post to your site—all within a single conversation. This level of integration is why many developers are choosing the official Automattic WordPress MCP server for their automation needs.
Best Practices and Security
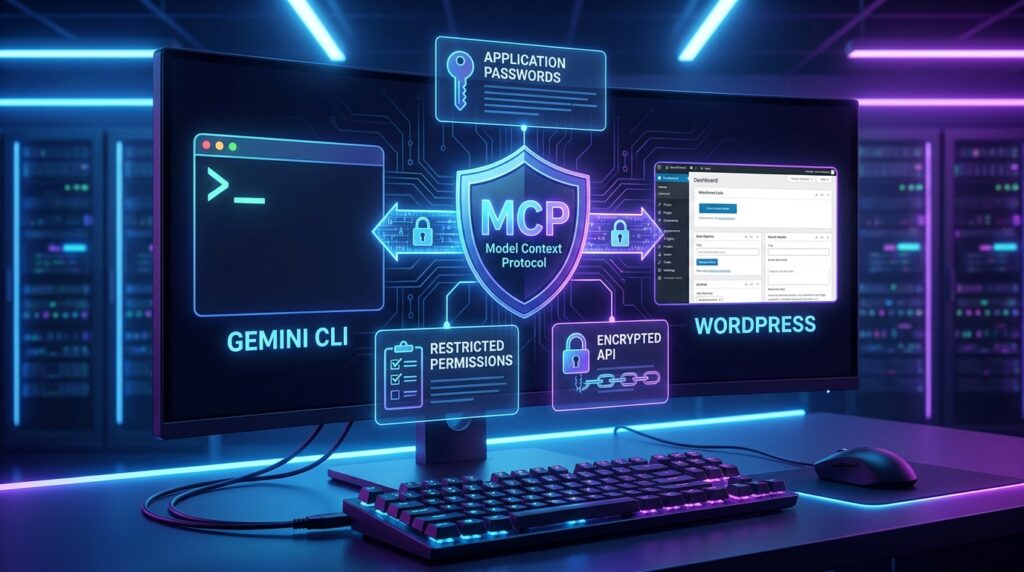
As with any remote access tool, security is paramount. When you Connect Gemini CLI to WordPress, always use Application Passwords rather than your primary login password. Application Passwords can be easily revoked if they are compromised, providing an extra layer of protection for your site. Additionally, always limit the scope of what the MCP server can do by setting appropriate permissions for the user account associated with the credentials.
Conclusion
Connecting your terminal to your website isn’t just a cool tricku2014it’s a massive productivity booster for developers and content creators alike. By taking the time to Connect Gemini CLI to WordPress, you’re setting yourself up for a more efficient, integrated, and powerful digital workflow. Whether you’re managing a single blog or a fleet of sites, MCP is the key to unlocking the true potential of AI-powered web management.
Now that your connection is live, check out our guide on How I Optimized 40 WordPress Posts to Perfect SEO Scores Using Gemini CLI to start leveraging your new setup.